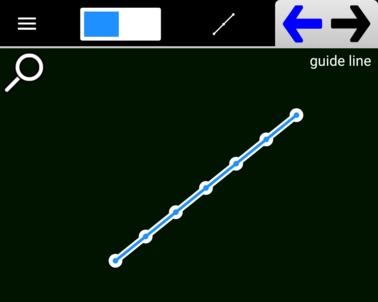
The main purpose of the Guide Line tool is to aid in the construction of other paths that require exact spacing or proportions. Guide lines have 3 to 16 snapping points laid out along their lengths. These points are evenly spaced from one end to the other, including the end points. Here’s an example:
Say for instance, you’d like to add a segment to another segment at ⅓ the distance from one of its end points. Simply overlay the first segment with a guide line of 3 snapping points. You can then precisely place your new path. Be sure that Snapping is enabled. When you’re done with the guide line you can either delete it using the Delete tool or the Delete Collection tool which has an option to delete only guide lines within its defined area. Unlike the Line Segment tool, guide lines do not have Bezier points and their end points can not be moved using other than by moving the entire path. During construction, you can also specify the orientation of the guideline (horizontal, vertical, free, or along a vector) using the Drag Constraint button
Here’s an example of a guide path construction and how it could be used:

