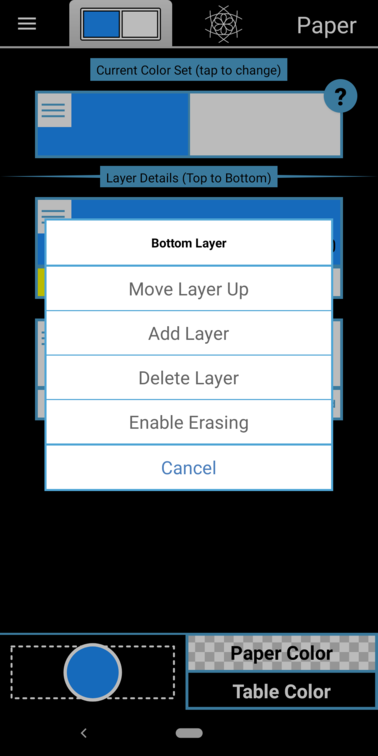
Unlike other apps, Doodleback does not have an eraser tool. The reason is that anything in Doodleback can be an eraser simply by enabling erasing on the Paint Layers. If you press the Option button on a individual Paint layer, one of the options presented is Enable Erasing.
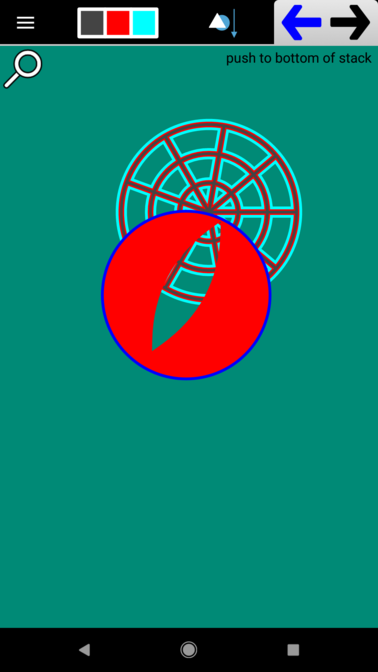
If you press the Option button on rectangular Paint Set card at the top of the page, you can enable erasing on all layers at once. When Erasing is enabled on a paint layer, it will cut through other paths that are both beneath it and created before it. This is important to understand. This allows you, for instance, to cut a hole in a object and then slip another object beneath it in a natural manner. For instance, in this screenshot a Circle was created, it was cut through with a Petal (using paint layers with erasing enabled), then a Circular Grid was created and pushed beneath the circle using the z-level tool Push To Bottom of Stack. Notice that the Circular Grid shows through the hole. This is because the grid was created after the hole was created.
Erasing can be enabled on a layer-by-layer basis or on all layers simultaneously. To enable or disable erasing on single layer, tap the Options button for that layer. To enable or disable erasing on ALL layers, tap the Options button for the Color Set.