Many paths use a Mark Button (the cross-hair looking button) during their construction.

Tapping this button tells the path that the current position of your finger should be used to define an important point or attribute of the path. Here’s an example using the Circular Ring Sector tool.
- First the Mark Button is used to define the inner radius. When you’ve dragged to the desired radius, hit the mark button.
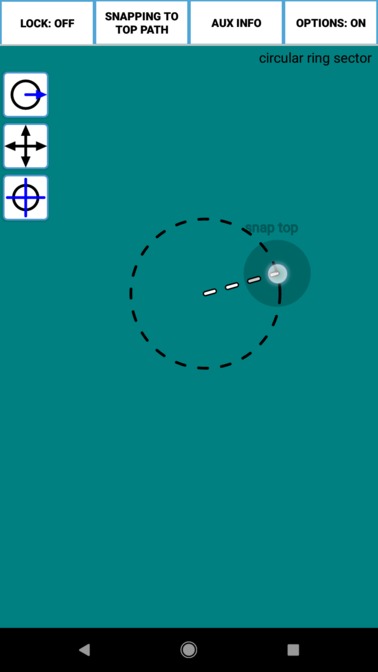
- Next select the outer radius. Again, when you have the desired radius, hit the Mark Button.

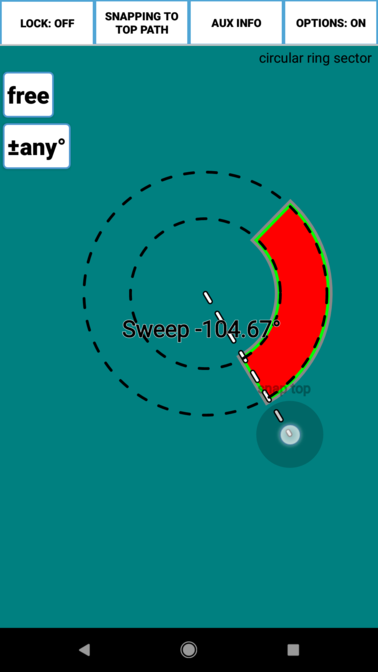
- Now select the start angle for the arc by pressing the Mark Button and drag to define the sweep angle.
Mark Buttons are used to define many different attributes of a Path. It might be used to mark the radius of a circle, the corner of a rectangle, or the axis over a which a Path is flipped. It might be used to select paths as in Mark Bind or to select Vertices or Bezier Points to be manipulated by one of the collection manipulation tools for those points. The use of a Mark Button will usually be obvious from the context and the auxiliary lines during construction, but check the documentation for the Tool if you’re unsure.