The main drawing canvas (the Paper) can be in one of two modes:
- Drawing Mode
- Zoom Mode
This article discusses Drawing Mode. Zoom Mode is discussed in the next article.
In Drawing mode, any touch to the screen with attempt to use the currently selected tool. The
tab will display Undo/Redo arrows and the name of the current tool will be displayed in the upper
right hand corner. Here’s an example:
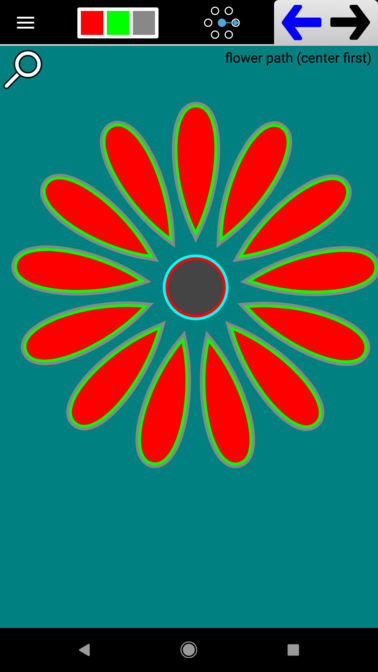
When you actually touch the screen, Option Buttons for the current tool will appear on the side and more general Option Buttons (options that apply to all tools) will be appear at the top of the screen. The Option Buttons will vary from tool to tool. In this example, we’re using a Circle tool.

The top side button (32 points in the picture) controls the number of Snapping Points on the circumference of the Circle. Tap the button to cycle through other options.
Important Note: Do NOT lift your finger from the Paper to tap Option Buttons. The options are changed during live construction. You’ll usually immediately see the change caused by the new option settings. Certain options don’t have an immediately observable effect, such as changing the number of Bezier points on a side. Those will only be observed later when other tools act on the Path after it’s been constructed.
The next button down, in this example, controls the Construction Mode. The current construction mode is set to Center-to-Circumference. Again, tap the button to cycle through other options. The last button (with arrows pointing up, down, left, and right) controls the Drag Constraint during construction. This will allow you to limit your motions during construction. Typically you would use this to move in a perfect horizontal or vertical manner.
We’ll discuss the top screen Option Buttons in separate pages, but here’s a quick summary:
- The Lock button completely freezes input. This is usual to prevent Snapping from kicking in.
- The Snapping button determines how Snapping will be applied. Snapping will always attempt to snap to the closest path, but if two points are equally distant from your finger, this button allows you to prioritize higher paths (in terms of Z-level) from lower paths or vice-versa. This button also allows you to completely turn snapping off.
- The Erasure Snapping button determines if snapping to Erasing paths is permitted. You could turn this on, for example, in order to move a hole.
- The Auxiliary Info button toggles auxiliary info ON/OFF during construction. The auxiliary info helps during construction. It might, for instance, show you the exact angle of a Rotation. Sometimes, though, this info can get in the way.
- The Options ON/OFF button will hide or reveal the side Option Buttons. This is useful to get a better look at the screen during construction. When a construction begins it’s always set to ON. The Tools aren’t very useful without the Option Buttons.