What is Doodleback?

A lot of drawing apps let you construct a circle but usually in only one way. They let you copy an object but in only one way or erase but in only one way. But what if you wanted to erase with a star or copy something by rotation? Doodleback’s philosophy is that how you’re able to construct things is almost as important as what you can construct. Being able to precisely place objects at the moment of their creation simplifies many drawings that would otherwise be difficult or almost impossible. You can get it here on Google Play.

Rotate Around Any Point (Select Path First)

The Rotate Around Any Point (Select Path First) tool is very similar to the Rotate Around Any Point tool except that instead of selecting the center of rotation first, you select the path first. The primary reason this tool exists is so that you can define an exact between the pivot point (the center of the rotation) and the the Snapping Point you selected on the path. Other than that, there is no difference between the two tools. [Read More]

Scale

The Scale tool lets you change the size of a path. The main construction option is which axis to scale it on: scale X/Y (stretches or compresses both width and height) scale X (stretches or compresses width only) scale Y (stretches or compresses height only) Simply grab one of the snapping points of a path (for example, one of the corners of a rectangle) and drag it. When scaling in both directions, the distance from the center point to the touched snapping point, defines scale 1. [Read More]

Scale (Mark)

The Scale (Mark) tool is very similar to the Scale tool except that it allows you to define your own center for scaling and the reference unit used to determine the magnitude of the scaling. First touch the path you wish to scale. You can then either press the “use center” button which will mark the center of the path as the pivot point for scaling (this is the same as the Scale tool) or you can press the “mark ref 1” which will set a different pivot point. [Read More]

Move Vertex

The Move Vertex tool allows you to move the vertices of polygons, the end points of segments and arrows, the corners of leaves, and the tips of petals. There two versions of this tool. This one also translates the Bezier Points on the sides connected to the vertex being moved. It might not seem obvious, but this is probably the behavior you want most of the time. If you leave the Bezier points in place when you move the vertex, you end up with a warped side which is exactly what the Move Vertex (Warp) tool does. [Read More]

Move Vertex by Vector Reference

The Move Vertex by Vector Reference tool allows you to reposition a vertex of a polygon relative to another vertex and a user defined vector. You can reposition it based on either the vector’s length, rotation, or both. First select a vertex of the polygon. Now, drag your finger over to another vertex and press the Mark button to select it. This selected vertex will be the one that’s moved. You now need to select a reference vector. [Read More]

Move Vertex (Warp)

The Move Vertex (Warp) tool acts similarly to the Move Vertex tool. It allows you to move the vertices of polygons, the end points of segments and arrows, the corners of leaves, and the tips of petals. The key difference is that it leaves the Bezier points for the sides in place. (For an explanation of Bezier points, see the Move Bezier Point tool.) This will cause the sides to warp as the vertex is moved. [Read More]

Point Path to Polygon

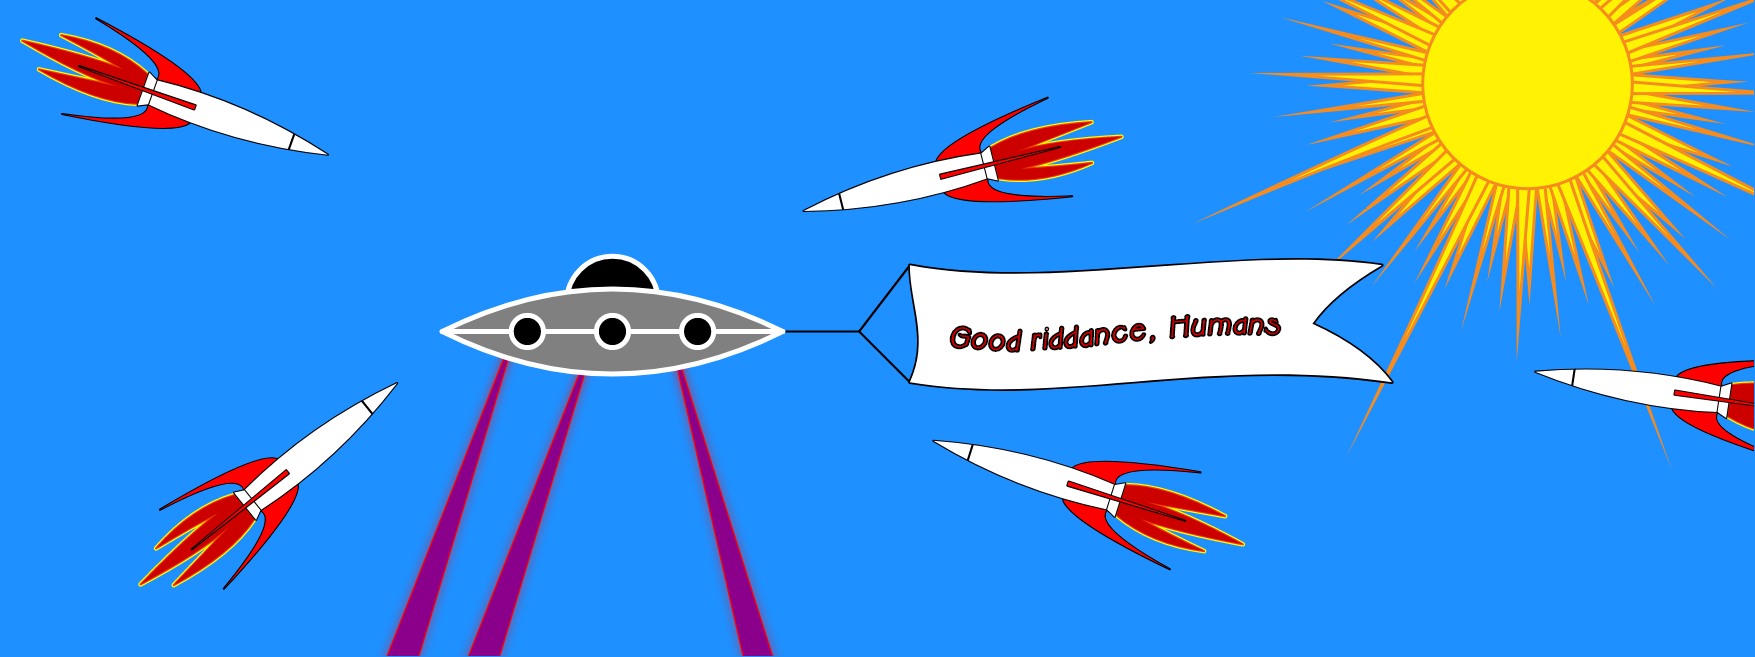
The Point Path to Polygon tool will reverse the effect of the Polygon to Point Path tool, that is, it will convert the Point Path back to a normal polygon. See the Polygon to Point Path tool for an explanation of Point Paths. Here’s an example.
Polygon to Point Path

The Polygon to Point Path tool will convert a polygon path of any variety into a collection of points connected invisibly by the original sides of the polygon. The points will be drawn using the polygon’s current paint though the paint can be changed later. The interesting thing about Point Paths is that to all other tools, they appear simply as polygons. That means, for instance, that you can use the Move Vertex tool to move the points around, but since the points are still bound together, you can move the whole collection of them later using the Move tool or rotate them using the Rotate tool. [Read More]

Between Z-Levels

The Between Z-Levels tool lets you change the Z-level of a path so that it is between two other paths. First select the path to reposition by touching one of its Snapping points. If you have trouble selecting the desired path, you may need to change the snapping Header Option Button from “Snapping to Bottom Path” to “Snapping to Top Path” or vice-versa. The selected path will have a dashed outline. [Read More]
zlevel 

Immediately Above Other Path

The Immediately Above Other Path tool positions a path one Z-Level above another path. It works similarly to the Between Z-Levels tool. First select the path to reposition by touching one of its Snapping points. If you have trouble selecting the desired path, you may need to change the snapping Header Option Button from “Snapping to Bottom Path” to “Snapping to Top Path” or vice-versa. The selected path will have a dashed outline. [Read More]
zlevel