What is Doodleback?

A lot of drawing apps let you construct a circle but usually in only one way. They let you copy an object but in only one way or erase but in only one way. But what if you wanted to erase with a star or copy something by rotation? Doodleback’s philosophy is that how you’re able to construct things is almost as important as what you can construct. Being able to precisely place objects at the moment of their creation simplifies many drawings that would otherwise be difficult or almost impossible. You can get it here on Google Play.

Star

The Star tool allows you to create conventional stars and also several different many-pointed shapes that we’ll loosely call Stars. Here are some examples. To draw a Star you need to define these things: inner radius outer radius the number of points whether or not the star is “twisted” First drag outward from the center (which is the initial touch point). You’ll see an outlined polygon showing you either where the points of the star will be placed or where inner corners of the star will be placed. [Read More]

Trapezoid

The Trapezoid tool is actually very similar to the Parallelogram tool. It allows you to create an isosceles trapezoid (a trapezoid where the non-parallel sides are equal) by defining one of the parallel sides and then either its next non-parallel side or its diagonal. You can use the Drag Constraints button to control the horizontal or vertical orientation of the sides or to define a vector to guide the drawing of the side. [Read More]

Triangle (Equilateral)

The Equilateral Triangle tool is simply the triangle version of the Regular Polygon tool. It’s separate out into its own tool because it’s so common, and it’s used in the same way. Here’s an example.

See the Regular Polygon tool for all the possible construction options.

Triangle (Exact)

The Exact Triangle tool lets you specify in advance the exact angles of the triangle or the exact proportions of the sides of the triangle. You used the Exact Triangle selector for this. It’s displayed at the bottom of the Polygons tab when this tool is selected. There are two dropdown boxes. One allows you to choose between Angles or Proportions. The other allows you to select a particular triangle from that group. [Read More]

Triangle (Free)

The Free Triangle tool allows you to construct a triangle by precisely placing its three vertices. The initial touch defines the first vertex. While keeping your finger on the screen, drag it to another location and press the Mark Button. This defines the second vertex of the triangle. The last vertex is set where you lift your finger from the Paper. You can restrict the construction of the vertices using the Drag Constraint button (move freely, move horizontally, move vertically). [Read More]

Triangle (Isosceles)

The Isosceles Triangle tool allows you to create an isosceles triangle (a triangle with two equal side) in the following ways. Vertex to base corner Vertex to base center (uses Mark Button) Base corner to vertex Base center to vertex (uses Mark Button) Base corner to base corner (uses Mark Button) Base center to base corner (uses Mark Button) Vertex to base corner with freely positioned base (uses Mark Button) Base corner to vertex with freely positioned base (uses Mark Button) All of these construction options allow you to do things that would otherwise be very difficult if only one construction method were available. [Read More]

Triangle (Right)

The Right Triangle tool allows you to create a right triangle in four basic ways. Dragging the hypotenuse (Does not require Mark Button) Dragging from a non-right angle corner to the right angle corner, Marking it, and then dragging to define the other side and hypotenuse Dragging from right angle corner to a non-right angle corner, Marking it, and then dragging to define the other side and hypotenuse Dragging the hypotenuse, Marking the end, and then dragging to position the right angle You use the Drag Constraint Button to control whether the side or hypotenuse are positioned horizontally, vertically, or freely. [Read More]

Change Text

The Change Text tool allows you to change the text of an existing Text path. Simply enter the new text in the text field at the bottom of the screen and then tap the Text path that you wish to update. You’ll need to tap the Text path on one of its Snapping Points. The updated path will retain its current paint attributes. Here’s an example.
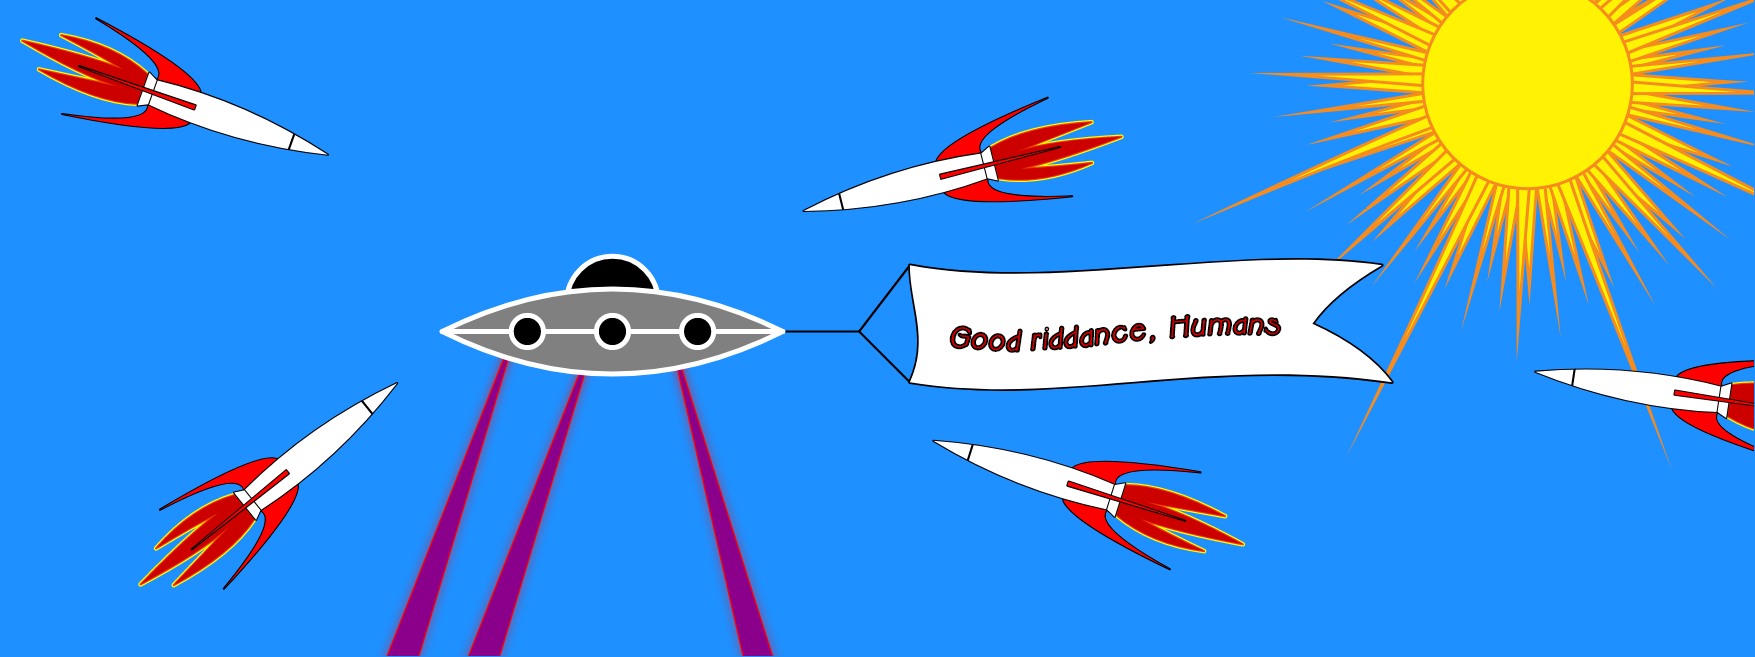
text 

Text

The Text tool lets you place a fixed size string of text on the page. The size is determined by the Paint Attributes and the Text Attributes. If you want to dynamically change the size of the text, you’d want to use the Text Dynamic tool. Text is added to a model by first entering it in the text field at the bottom of the screen and then tapping the location where you’d like to place it. [Read More]
text 

Text Along Path

The Text Along Path tool allows you to draw a Text path along another existing path. For instance, you could create a Line Segment, warp it using the Move Bezier Point tool and then draw the text path along this curve. Here’s an example. The are several construction options available when creating a Text Along Path. You can retain or delete the path along which you draw the new Text path. [Read More]
text