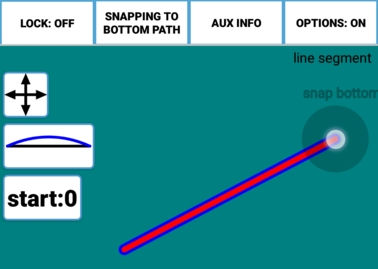
Bezier Points are invisible guide points on lines. Moving the Bezier Points will cause the line to warp. The number of these points initially on a line (Line Segment, Arrow, side of a Polygon,etc.) is set during the Path’s construction using the Bezier Point Button. If the button looks like this, you will have one Bezier Point on the side
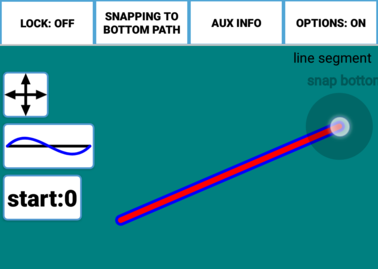
and if it looks like this, you will have two Bezier Points on the side.
Tap the button to toggle between the two settings. After the construction, it is still possible to change the number of Bezier Points on a side using the Change Number of Bezier Points tool. Here’s an example of how Bezier Points work. This line segment was constructed with one Bezier point on its side.
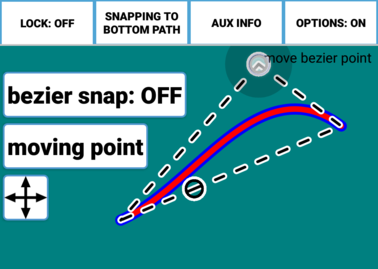
After construction, there’s no indication of how many Bezier Points the segment is using (the points are invisible), but here’s the Move Bezier Point tool being applied to the single Bezier Point on the Line Segment.
Now, let’s take a look at a two Bezier Point example. Here is a similar Line Segment, but this time it’s been constructed with two Bezier Points. The only visible difference is in the Bezier Button setting during construction.
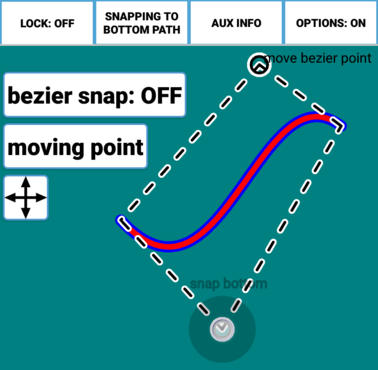
Notice the difference though when I move a Bezier Point. The auxiliary lines show an extra Bezier Point about 1⁄3 of the way along the segment.
Now, I’ll move the second Bezier Point using the Move Bezier Point tool again.
This kind of warping of the Line Segment would not be possible if it had only one Bezier Point. There are many other ways to manipulate Bezier Points. For example, they can all be moved simultaneously or they can be restored to their originally positions and thus make the side straight again. See the Bezier Tools for complete information on all the possible Bezier transformations.


